
Thursday, 31 March 2016
Tuesday, 29 March 2016

Reflections 29.03.16
Today we
completed the publication. We used the industrial guillotine to cut 5mm of each
edge. After our difficulties with the alignment we had to make a compromise
with the accuracy of the final publication. Our design used the edges and folds
to dissect the atoms and graphs into pleasant and unpleasant sounds. The
downside to this was that the lack of accuracy meant that a 5mm crop would cut
some of the information away. We had to decide between cutting each sheet
individually or biting the bullet and cutting them as a stack. Cutting each
sheet creates a series of other problems in maintains an accurate A format for
the folding to work properly and obviously time. As a group we decided to use
the industrial guillotine and cut 5mm of each edge despite the potential loss
of information. The information would still be readable and the publication
would still be a nice object to hold, interact with and display. It would just
be missing some of the exact finer points of information.
The industrial
guillotine was a bit temperamental in the beginning but eventually we were able
to cut everything to size. Each publication had 7 folds, each of those created
a potential accuracy issue. Not only that but the ink, although dry, smudged
during the folding process, especially the darker colours and any heavily
saturated areas. I think we would have kept to the graphs and atoms and
abandoned the block colours in hindsight. We folded 40 publications and decided
to pick the best 30 from this to ‘publish’ as a numbered edition for submission
and distribution to participants.
It was difficult
to let the accuracy of the final publication slip but it was a necessary
casualty of the module. During this project we have front-loaded a lot of the
organization, workload and ‘exhibition’. As the project comes to an end its
easy to forget the volume of research and work that has already gone into the
project. However, because I am a perfectionist, I was a bit disappointed that
we were not able to create a totally accurate representation. Having said that
the qualities of the Risograph print are a total redeemer in terms of
exploration of a new process and the haptic qualities of the final publication.
I think I would have felt more confident if we had explored Risograph printing
more thoroughly. Certainly we could have made it a lot easier for ourselves in
the printing stages of the work. In our complicated design, we created too many
variables, each with the potential to go wrong and affect the next. That’s not
to say that we have not achieved a great deal with this project, certainly in
terms of developing our understanding of our own process through collaboration.
When else would you have to opportunity to actively try something totally out
of your comfort zone and skill base.


Friday, 25 March 2016
Leah Stewart
Leah Stewart uses Risographs as part of an exploration of natural studies, including monoprints and etching. Her prints are a visual delight of mark making and colour.


Created as part of the Yuck Printhouse pop up show at the Manchester Craft and Design Centre. Printed by Hato Press


For more of her inspirational work go to www.leahstewart.co.uk or the Hato Press


Vessels
3 Colour Risograph
2013
Created as part of the Yuck Printhouse pop up show at the Manchester Craft and Design Centre. Printed by Hato Press


Heath
Risograph print of the meadow in the Ladies Pond, Hampstead Heath.
3 Colour Risograph
2013
For more of her inspirational work go to www.leahstewart.co.uk or the Hato Press
Risograph pt.2

Alice Bowsher - Curious

Emily Rand - Cities

Jack Taylor print

Emily Rand - Trees
All books and prints available at through Hato Press
Thursday, 24 March 2016
Reflections 24.03.16
So today was our
printing deadline day! We had previously selected the paper, the layout,
confirmed the designs, made any necessary alterations and separated the colours
on to separate layers for the printing. As none of us had used the Risograph,
besides practicing and an induction with Mike, we were pretty green. I also
realized that I had not separated the colours into different files, only on the
same file, which required a bit more shuffling around to get fully right. (My
Illustrator skills are not what they once were, although they are passable, I
could do with developing them more thoroughly.)
We had planned to
work on a 4 colour double-sided print. 8 passes through the Riso. Red, Blue,
Yellow and Green – the colours we used in the experiment. The blue drum was out
of commission, so we had to make an off the cuff alteration to purple. After
our 2nd pass through, we noticed some miss registration and
alignment between the two colours and the third colour. We did not realize that
we could change the feed speed on the Riso, to minimize the movement of the
paper through the feed. After 30mins of millimeter corrections to no avail we
abandoned our registration. In hindsight we should have considered the
properties of the Risograph more thoroughly for the task we were trying to
achieve. Although the process is perfect for batch production, the nature of
the print does not lend itself to a design that requires precision and
accuracy. If we had reduced our colours to two and altered the speed from the
beginning we would have reduced the misalignment issue.
When we started
printing with the purple drum, we realized that it was so dark that we were
loosing some of our info graphics in particular sections. We made a group
decision to remove some of the block colour sections to keep the readability of
the information. Again, if we had had a better knowledge of the Risograph
process, I think we would have taken all the block colour areas out of the
design. Heavy block colour areas tend to smudge more easily as they pass
through the machine. The roller also drags shadows of the colours across the
surface as the paper passes through.
After making the
amendments during the printing of the first side we were able to complete the
reverse side with relative ease. Thankfully. Although we encountered a bit of
paper slippage it did not detract from the final image. We also had not thought
about drying time for the prints. We have been working to a tight schedule
because of other commitments and travel etc. Realizing that we would have to
factor another cutting, folding and making day into the timetable was a bit of
a blow especially as we all work and travel to get into uni. However, we
negotiated another day to finish the publication with relative ease. As a group
we have been sympathetic to each other’s external commitments, whether it’s
work, or travel, or other modules etc. This has meant that we have all been
able to manage and plan the project within our own time frames. This in part
has lead to the successful completion of the project.
After planning
the intricate layout of the publication and the fine details of each data
visualization it was disappointing to have not factored the inherent qualities
of the Risograph printing into the design. More research into the technique
rather than just the visual qualities would have helped. I think we should have
probably thought about having a trial run as well. Although we produced a
number of test sheets, which visually we very interesting, these were more as a
trial for alignment than the actual process. We should have perhaps tried a
range of colour combinations and worked with half tones and transparency values
to minimize the colour choices and maximize the accuracy of the final print. I
am certain that there is an amount of trial and error with all Risograph
printing, but we could have made a design more suitable for the process to make
the outcome more in keeping with the informative nature of the experiment.
Having said that
we were able to produce a lovely print, with an accessible and handmade feel
that made the formal nature of the graphs and information feel more visually engaging
and digestible, which I consider to be a more poignant success overall.
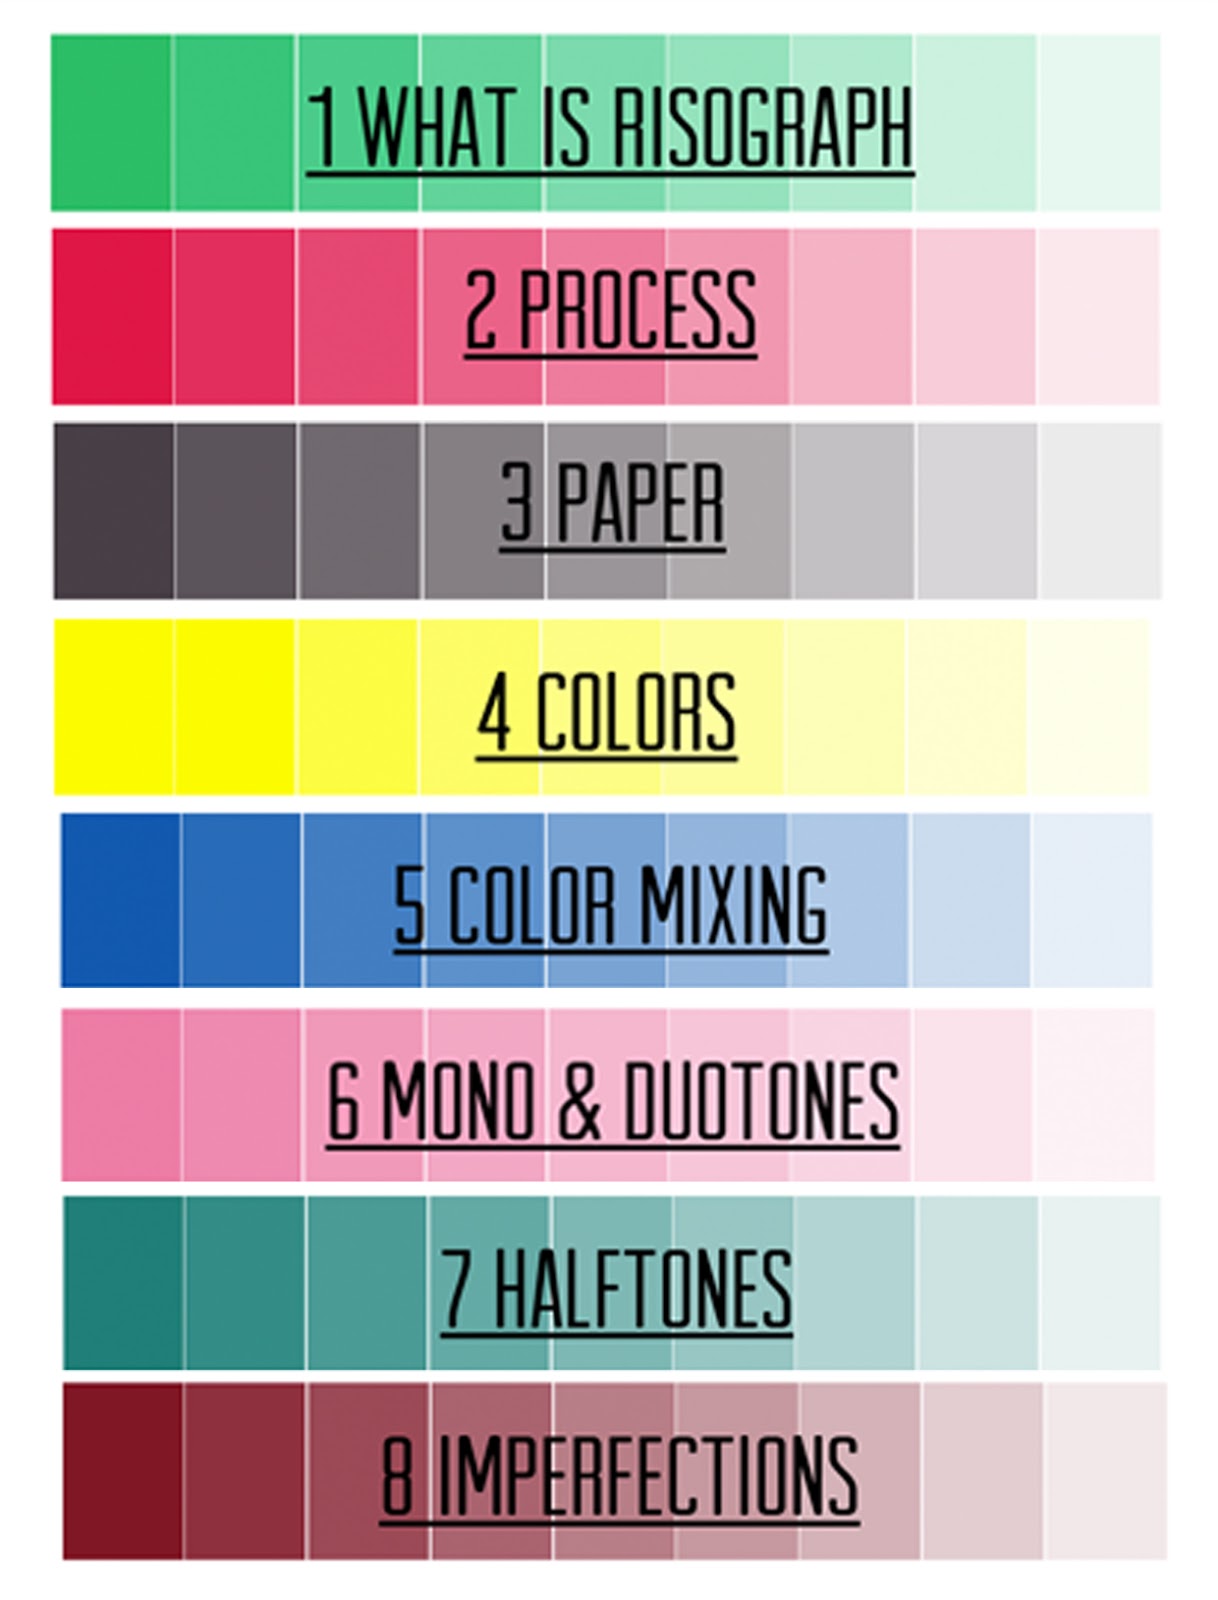
Failures

We under estimated the number of test prints we would need.Our original 10% contingency was insufficient. However, after struggling with alignment and 3rd year assistance, we were able to make it. The test prints show our adjustments including colour choice, alignment and block colour. If we were to use a Risograph again I think we would feel more confident choosing less colours. We were trying to get an accurate print, which a Risograph is not designed for. It was more succesful on some than others and gives the final publications a nice hand made unique quality.

Friday, 18 March 2016
Mock up trials


Erika has worked up one side of the publication and constructed a mock up to make sure each atomic graph lines up correctly. Erika has worked tirelessly to format this design. I have added the final poster to the reverse side.

Wednesday, 16 March 2016
Reflection 16.03.16
We are in the final stages of the project. After 8 weeks of
hard work the end is in sight. We are currently working towards completing the
final designs for the content of the folding poster and large format poster and
plan to print using the Risograph next week.
Although I am pleased with the progress we have made as a
group and out data collection methods I am disappointed in the reception of my
initial poster design. In reflection the comments made were perhaps correct,
but not delivered in a way that was sympathetic to time invested and my
involvement with the rest of the project. That said, I have been able to rework
the poster and think outside of the direct representation of the movement into
something more abstract. There is a part of me that feels as if I have sold my
soul in this project. There is nothing of my own skill set in this, only perhaps
some organisational skills. I don’t know what that means or where it leaves me
in terms of the development and critical engagement within my own practice,
apart from at a loss. I am not disputing that I have learnt a lot about myself
that is relevant in terms of group work, organisation, curating, editing,
researching, problem solving, but not in terms of my own practice. I thought
that distancing myself from my own ‘style’ of work would allow me to develop a
new perspective on process and practice but it has made me feel lost.
If painting is what I do, is painting all I can do? I am not
sure I can answer that question: not sure I can and not sure I want to. I need
to continue to push through to the end of this project and think more about my
own practice, what I want it to be, where it can go, and how I can move forward
without being static. I read ‘Ways of Seeing’ by John Berger. He talks about
painting in a way that is historical and contextual but also accessible. It made
me think that painting for me is about the brush, the paint, and the marks.
Although that might not be directly evident from my work. There is something
more in the act of painting that become meditative for me, transcendental, peaceful.
Something creative happens in that space, creative thoughts but separate and
alien from the physical act of painting. Painting allows the active synthesis
of ideas into the new. It is a space of total peace. So how do I bring the
creative process directly, actively and purposefully into the physical process?
Perhaps that is my challenge? But I am not sure I am prepared to relinquish my
love of the physical act of painting, perhaps it can only exists in that place
for me and that is why I am so reluctant to move it anywhere else.
Meeting 15.03.16
Points discussed:
1.
Development of data visualizations.
We had spent the previous week working on
our format, grid system and data analysis for the publication. We distributed
individual tasks to develop the content. Erika had produced 3 atomic shaped
graphs, Kal had produced 3 atomic shaped graphs and I had produced the grid
template and a poster.
We decided that in order for the
publication to feel cohesive we needed to rework some of the graphs to make the
line weight, colours and typography consistent. The content for the poster also
needs reworking to make it harmonise with the informational and scientific
visualizations of the graphs.
2.
We need to research batch production to think of
ways to highlight participants names, websites etc. Mike suggested Jake Tilson.
3.
Mike ran through the assessment for the module.
70% is a summative exhibition, 30% is documentation. Our data collection event
is our exhibition. Obviously this has been and gone, so in order to cover that
part of the assessment we need to properly document that through the blogs,
including an edited video of the process of designing, developing and executing
the experiment. I have contacted John Byrne about the evaluation process.
We also decided on our printing day for the publication. We
will be printing the publication using the Risograph on Thursday 24th March.
We will be using a 4 colour separation and doing a double sided A3 print. The
printed posters will need to be cut, numbered and folded for distribution. Our
final designs and layouts will be completed by Tuesday 22nd March.
Unfortunately Kal could not make it to the tutorial as she
has prior commitments for her Research Practice 2 module. We arranged to
feedback information from the tutorial to Kal.
Tuesday, 15 March 2016


Monday, 14 March 2016
movement trails

After recieving a mixed reception with the first movement visualizations I moved away from the footprints as a key and started looking at simple paths from each individual participant. Mapping the movement through the space rather than individual movements for each sound. Although this would have created a nice overall movement map I think that individual pathways would be lost in the overlay of all trails. It also does not represent the subtle difference in each participants approach to the experiment, their individual movements and reactions to the sounds. This trail approach is too literal for the final data visualization.
Visualization pt3.

Planning individual participants movements based on both pleasant and unpleasant experiments.

First draft layout for 25 participants mapped movements. Including colour choice, gender, pleasant and unpleasant movements, specific sound choice, department and age group.
Visualization pt2.

Footprint movement mapping participant 1 & 2. Including gender, colour choice, movement, pleasant and unpleasant sounds.

Planning directional movement and atomic structures.

Footprint movement mapping exploration of opacities, directional lines and pattern.
Visualizations pt1.

Floral Participant colour and sound visualization.
Atom colour and sound visualization.

Participant 1 movement visualization exp.1 and 2.
Including colour, gender, pleasant and unpleasant sounds.

Footprint experimentation, colour choice, gender (rectangle for male, oval for female. This started as squares and cirlces but become elongated to give a sense of direction of movement.) Pleasant and unpleasant sounds differentiation through vertical and horizontal division.
Thank you!

25 participants later...
Those of you who took part (and you know who you are) thanks so much!
It wouldn't have been possible to create anything without you all.
Friday, 11 March 2016
Reflection 07.03.16
Today
we had to present our progress to date to the rest of the group. We were able
to clearly explain the hypothesis for the project, the organisation, design and
development of the experiment, the data collection event, the data analysis and
the start of the visualisation of the outcome. We met prior to the presentation
to finalize the layout of the final folded poster and assign tasks for the
visualisations. All in all we were able to present a fully rounded and almost complete
project. The most interesting revelation of the day, for me, what seeing the
way that the other groups worked collaboratively. Although there are 5 groups,
only 4 attended, 3 of which did not have all there members. In fact our group
was the only group will all members present. I realised that having a smaller
number of group members had clearly made a difference in the progress and
development of our project. Certainly organising larger numbers proves much
more challenging and requires a strong leadership or ‘Art Director’ role.
Luckily, our group has three organised and pro-active members. We have been
able to organise an efficient and effective timetable, design an interesting
hypothesis and experiment based on mutual interest within the group. But also,
more importantly, are in the process of building a visualisation that builds on
individual member’s subject specific skills. I think this is really the root of
our success as a group.

Using Tuckman’s stages as a reference point I think it is evident that our group moved through the forming stage very quickly. In fact we had completed the forming stage after the sand pit event at the Bluecoat. In the storming stage where initial conflicts to ascertain a group hierarchy, did not really happen either. Although we had disagreements within the group about the finer points of the process of data collection, we were able to overcome them quickly with discussion. Actually the tight time frame for the project forced us to make decisions immediately. For us, the norming stage has been ongoing throughout the project. I think that is because not only are we members of a group in terms of the collaborative module but we are also members of other overlapping groups. So we are all studying an MA at LJMU, also Erika and I are both studying Graphic Design and Illustration. The overlapping of these groups is part of the reason we moved quickly through stages 1 and 2. Our social relationships will continue to develop throughout the rest of the course. Especially because our ultimate goal as individuals is the same. ‘We want to complete the course successfully.’ We are currently in the ‘performing’ stage and are actively focusing our energies on completing the publication. Once that has been printing, we will move to the ‘adjourning’ stage, which will include distributing the publication and evaluating the overall success of the project.
There are more fundamental developments happening here too,
which are not overtly evident. In being able to assign tasks, we are all
reflecting on our own skill set, being challenged in our preconceptions of the
skill sets and subject areas of others and being forced to combine skills which
we may have considered to be singular. It may sound bizarre for visual creative
people to think of their process as an island but I know that I certainly held
painting in an isolated place, unlinked with the creativity of illustration
practice, purely a visualisation process, static and unchanging. What this
collaborative module has made me realise it that my creative process is not
immovably linked with painting. That’s not to say that painting won’t always be
part of my process, but the way in which it is connected is open for
discussion, debate and change.
I wanted to look more closely at why our group works so well
together. Tuckman (1965) theory of group development suggests, groups usually
pass through several stages of development as they change from a newly formed group
into an effective team. (See table below.)
Using Tuckman’s stages as a reference point I think it is evident that our group moved through the forming stage very quickly. In fact we had completed the forming stage after the sand pit event at the Bluecoat. In the storming stage where initial conflicts to ascertain a group hierarchy, did not really happen either. Although we had disagreements within the group about the finer points of the process of data collection, we were able to overcome them quickly with discussion. Actually the tight time frame for the project forced us to make decisions immediately. For us, the norming stage has been ongoing throughout the project. I think that is because not only are we members of a group in terms of the collaborative module but we are also members of other overlapping groups. So we are all studying an MA at LJMU, also Erika and I are both studying Graphic Design and Illustration. The overlapping of these groups is part of the reason we moved quickly through stages 1 and 2. Our social relationships will continue to develop throughout the rest of the course. Especially because our ultimate goal as individuals is the same. ‘We want to complete the course successfully.’ We are currently in the ‘performing’ stage and are actively focusing our energies on completing the publication. Once that has been printing, we will move to the ‘adjourning’ stage, which will include distributing the publication and evaluating the overall success of the project.
Some of the other groups feel as
if they have stalled in their ‘storming
and norming’ stages. Some groups have sub groups within them, where members
from the same discipline have come together to form core group members. Some of
the other groups have not developed a hierarchy within their group so decision
making is a lengthy and tiresome process. Unfortunately a lot of decision
making is needed in the development and design of content for the publications.
Some of this difficulty is due to group numbers too. I certainly had not
realised the importance not only of group members but also group size, the
combination of both of these criteria has allowed us to form a cohesive and
productive group.
Wednesday, 9 March 2016
Illustrator Poster fold layout

This is a template explaining the folds and page configuration and pagination for the poster design. Each colour represents a different page, including the proposed information for each page.
Note: The two white triangles are blank space, only visable when fully open - perhaps for a secret message.
Tuesday, 8 March 2016
Meeting 08.02
We met prior to the group discussion to
talk about the presentation and make some amendments. We started to manipulate
and play with the folded prototypes, planning pagination, shapes and format. We
were able to build on Kal’s previously suggested idea of using an atom as the
basis for the formatting. After looking closely at the folded poster we were
able to break the poster down into a simple grid system to use as individual ‘pages/surfaces’
for information. The fold system created some interesting crops and shapes that
we were able to exploit as part of the design on the content.


Post-it notes:
Some initial ideas about potential circular layout designs.
 Pages 1 & 2 designs: The blue and green represent the separation between pleasent and unpleasent sounds. This will include information about colour choices, gender and department.

We have designated tasks for the next two
weeks:
KAL – circular visualizations of colour,
department and gender.
ERIKA – circular visualizations of sound,
age and ethnicity.
AMY – poster design mapping movement.
We will meet on the 15/03/16 to check progress and start bringing the visuals together.
Other tasks to be completed over the next
two weeks:
KAL – bead necklace visualizations, hard
copy for publication.
AMY – animation, typing meeting notes, plan
for submission, layout plan.
ERIKA – video editing.
Sunday, 6 March 2016
Footprint separations.
 |
| Still from recording: participant 3. |
 |
| Separating individual footprints. |
 |
| Separated rearranged footprints. |
Thursday, 3 March 2016


Subscribe to:
Comments (Atom)